How to Use Hand Poured Wax Melts Effectively: A Step-by-Step Tutorial
Introduction to Hand Poured Wax Melts
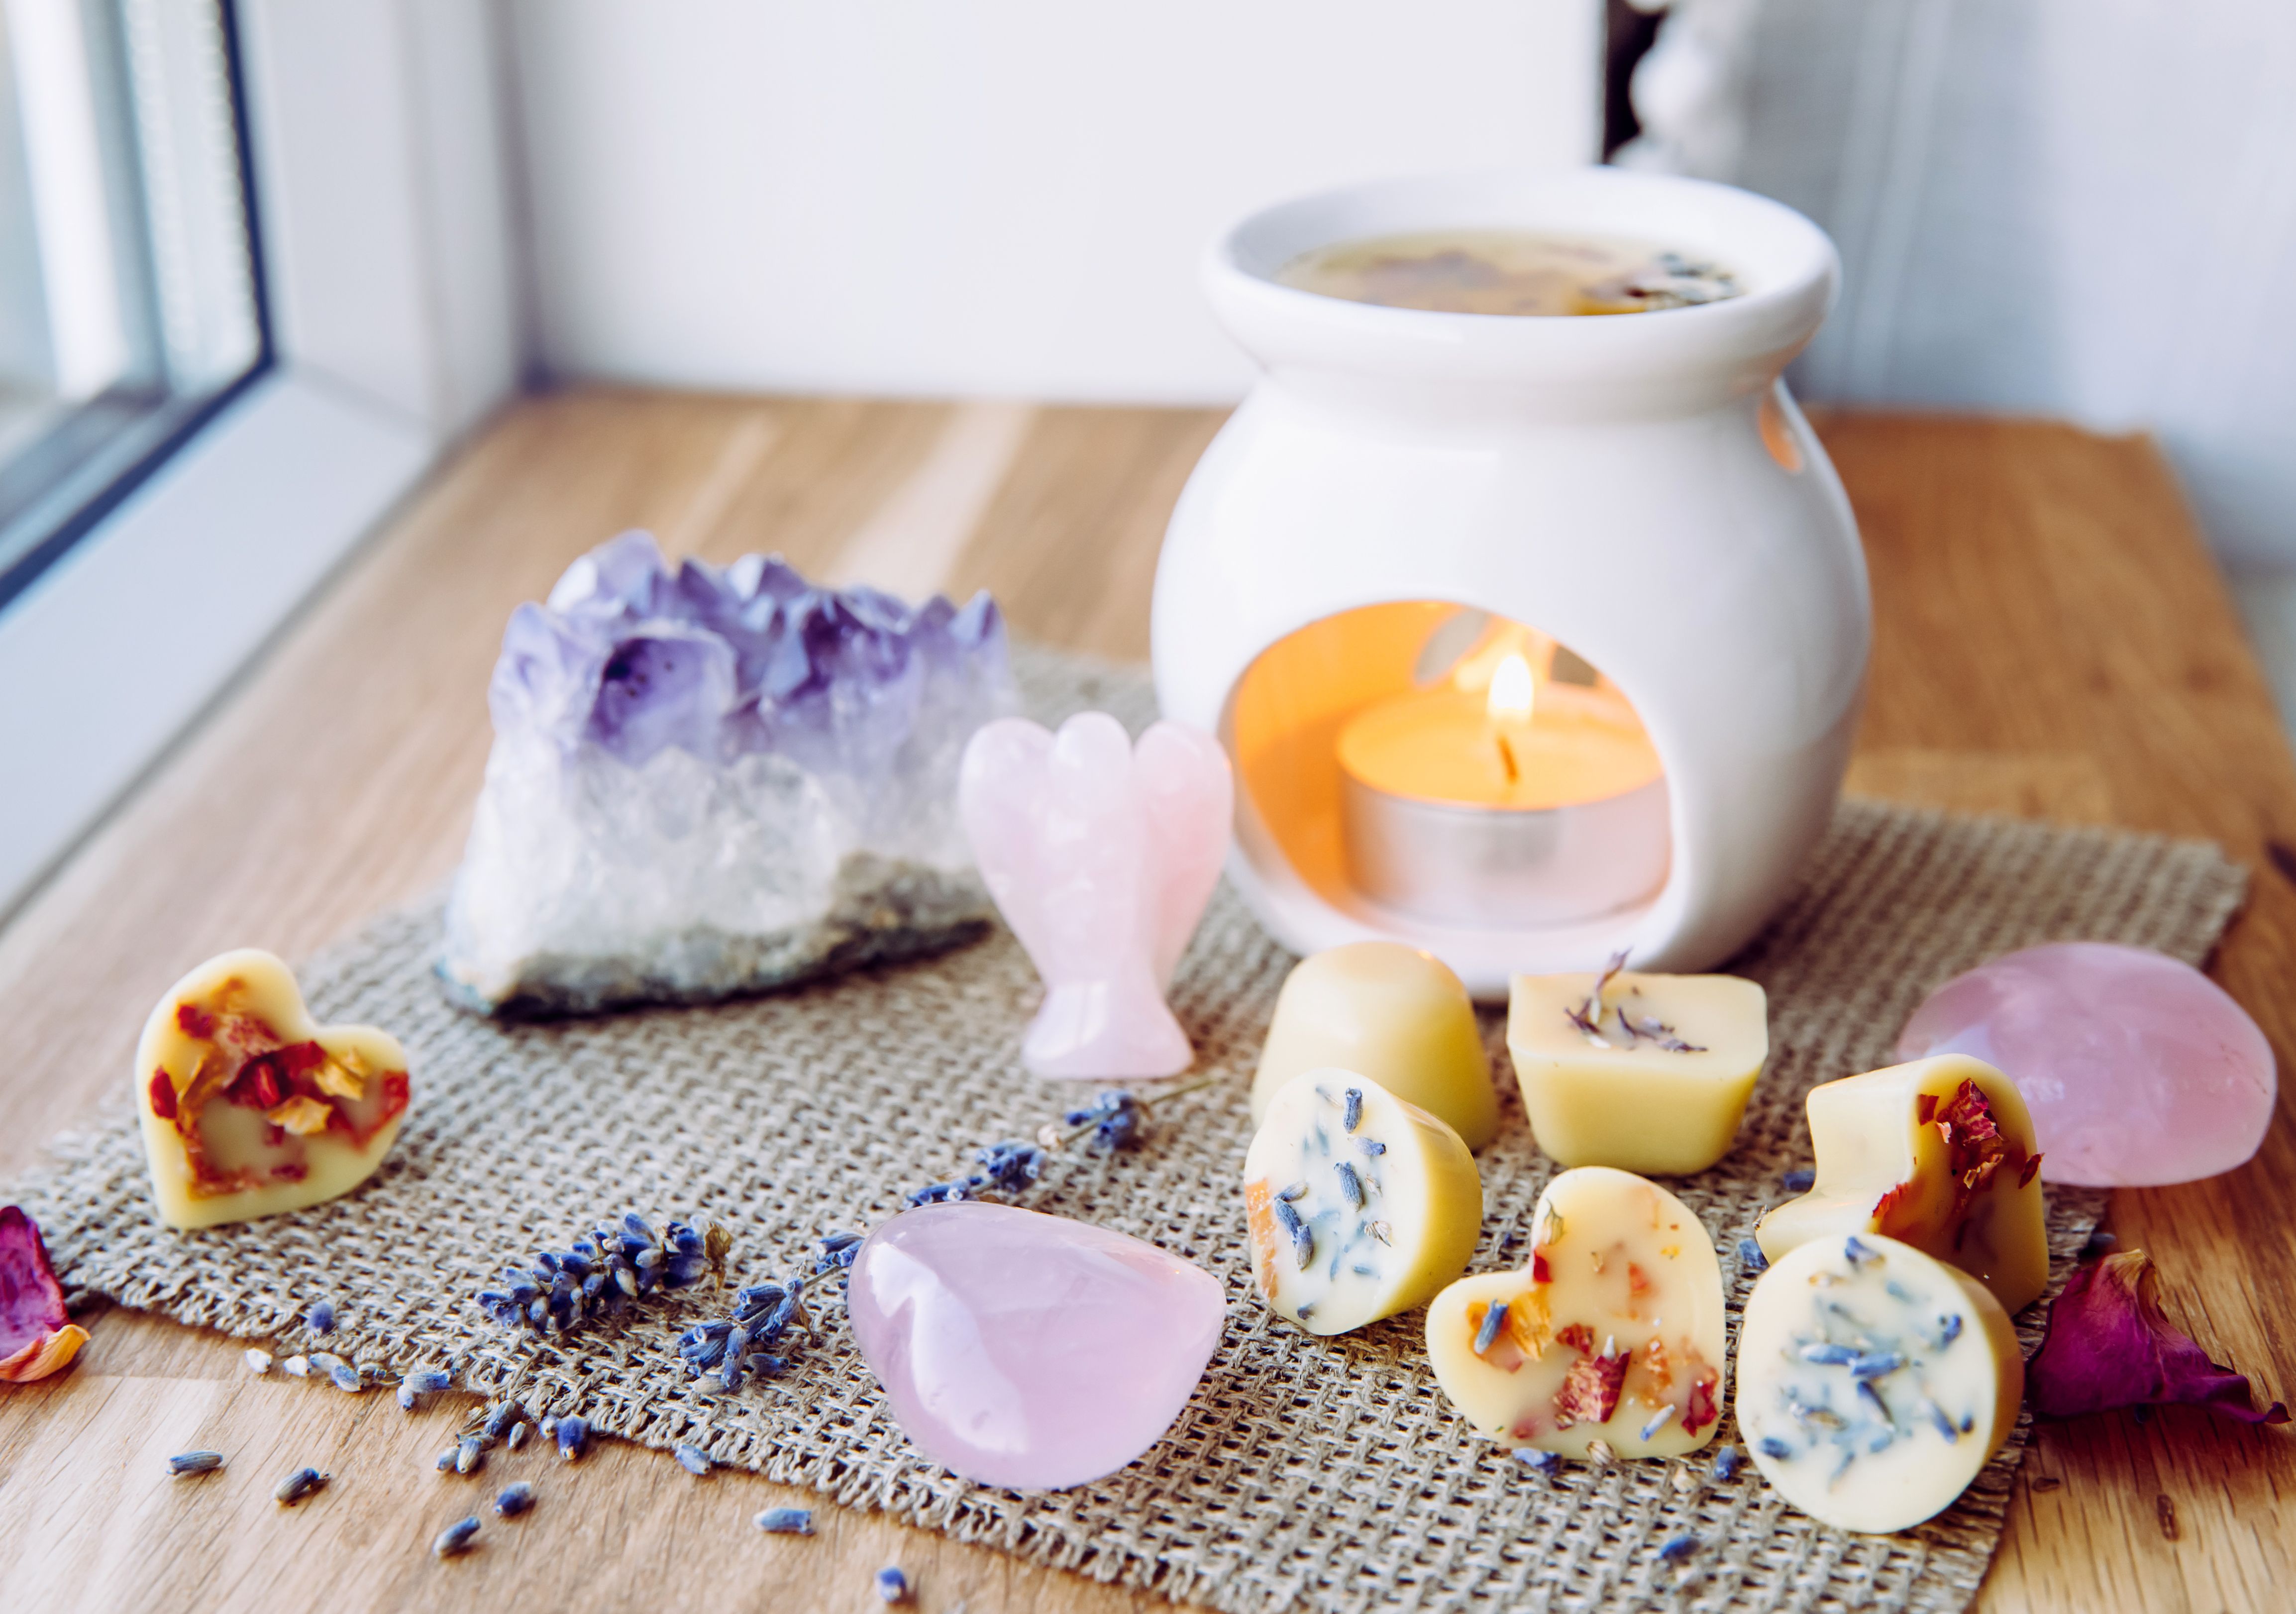
Hand poured wax melts have become a popular choice for those who love to fill their homes with delightful scents. Unlike traditional candles, wax melts do not require a flame, making them a safer and often more economical option. In this guide, we’ll walk you through using hand poured wax melts effectively to enhance your space with beautiful aromas.
Choosing the Right Wax Melts
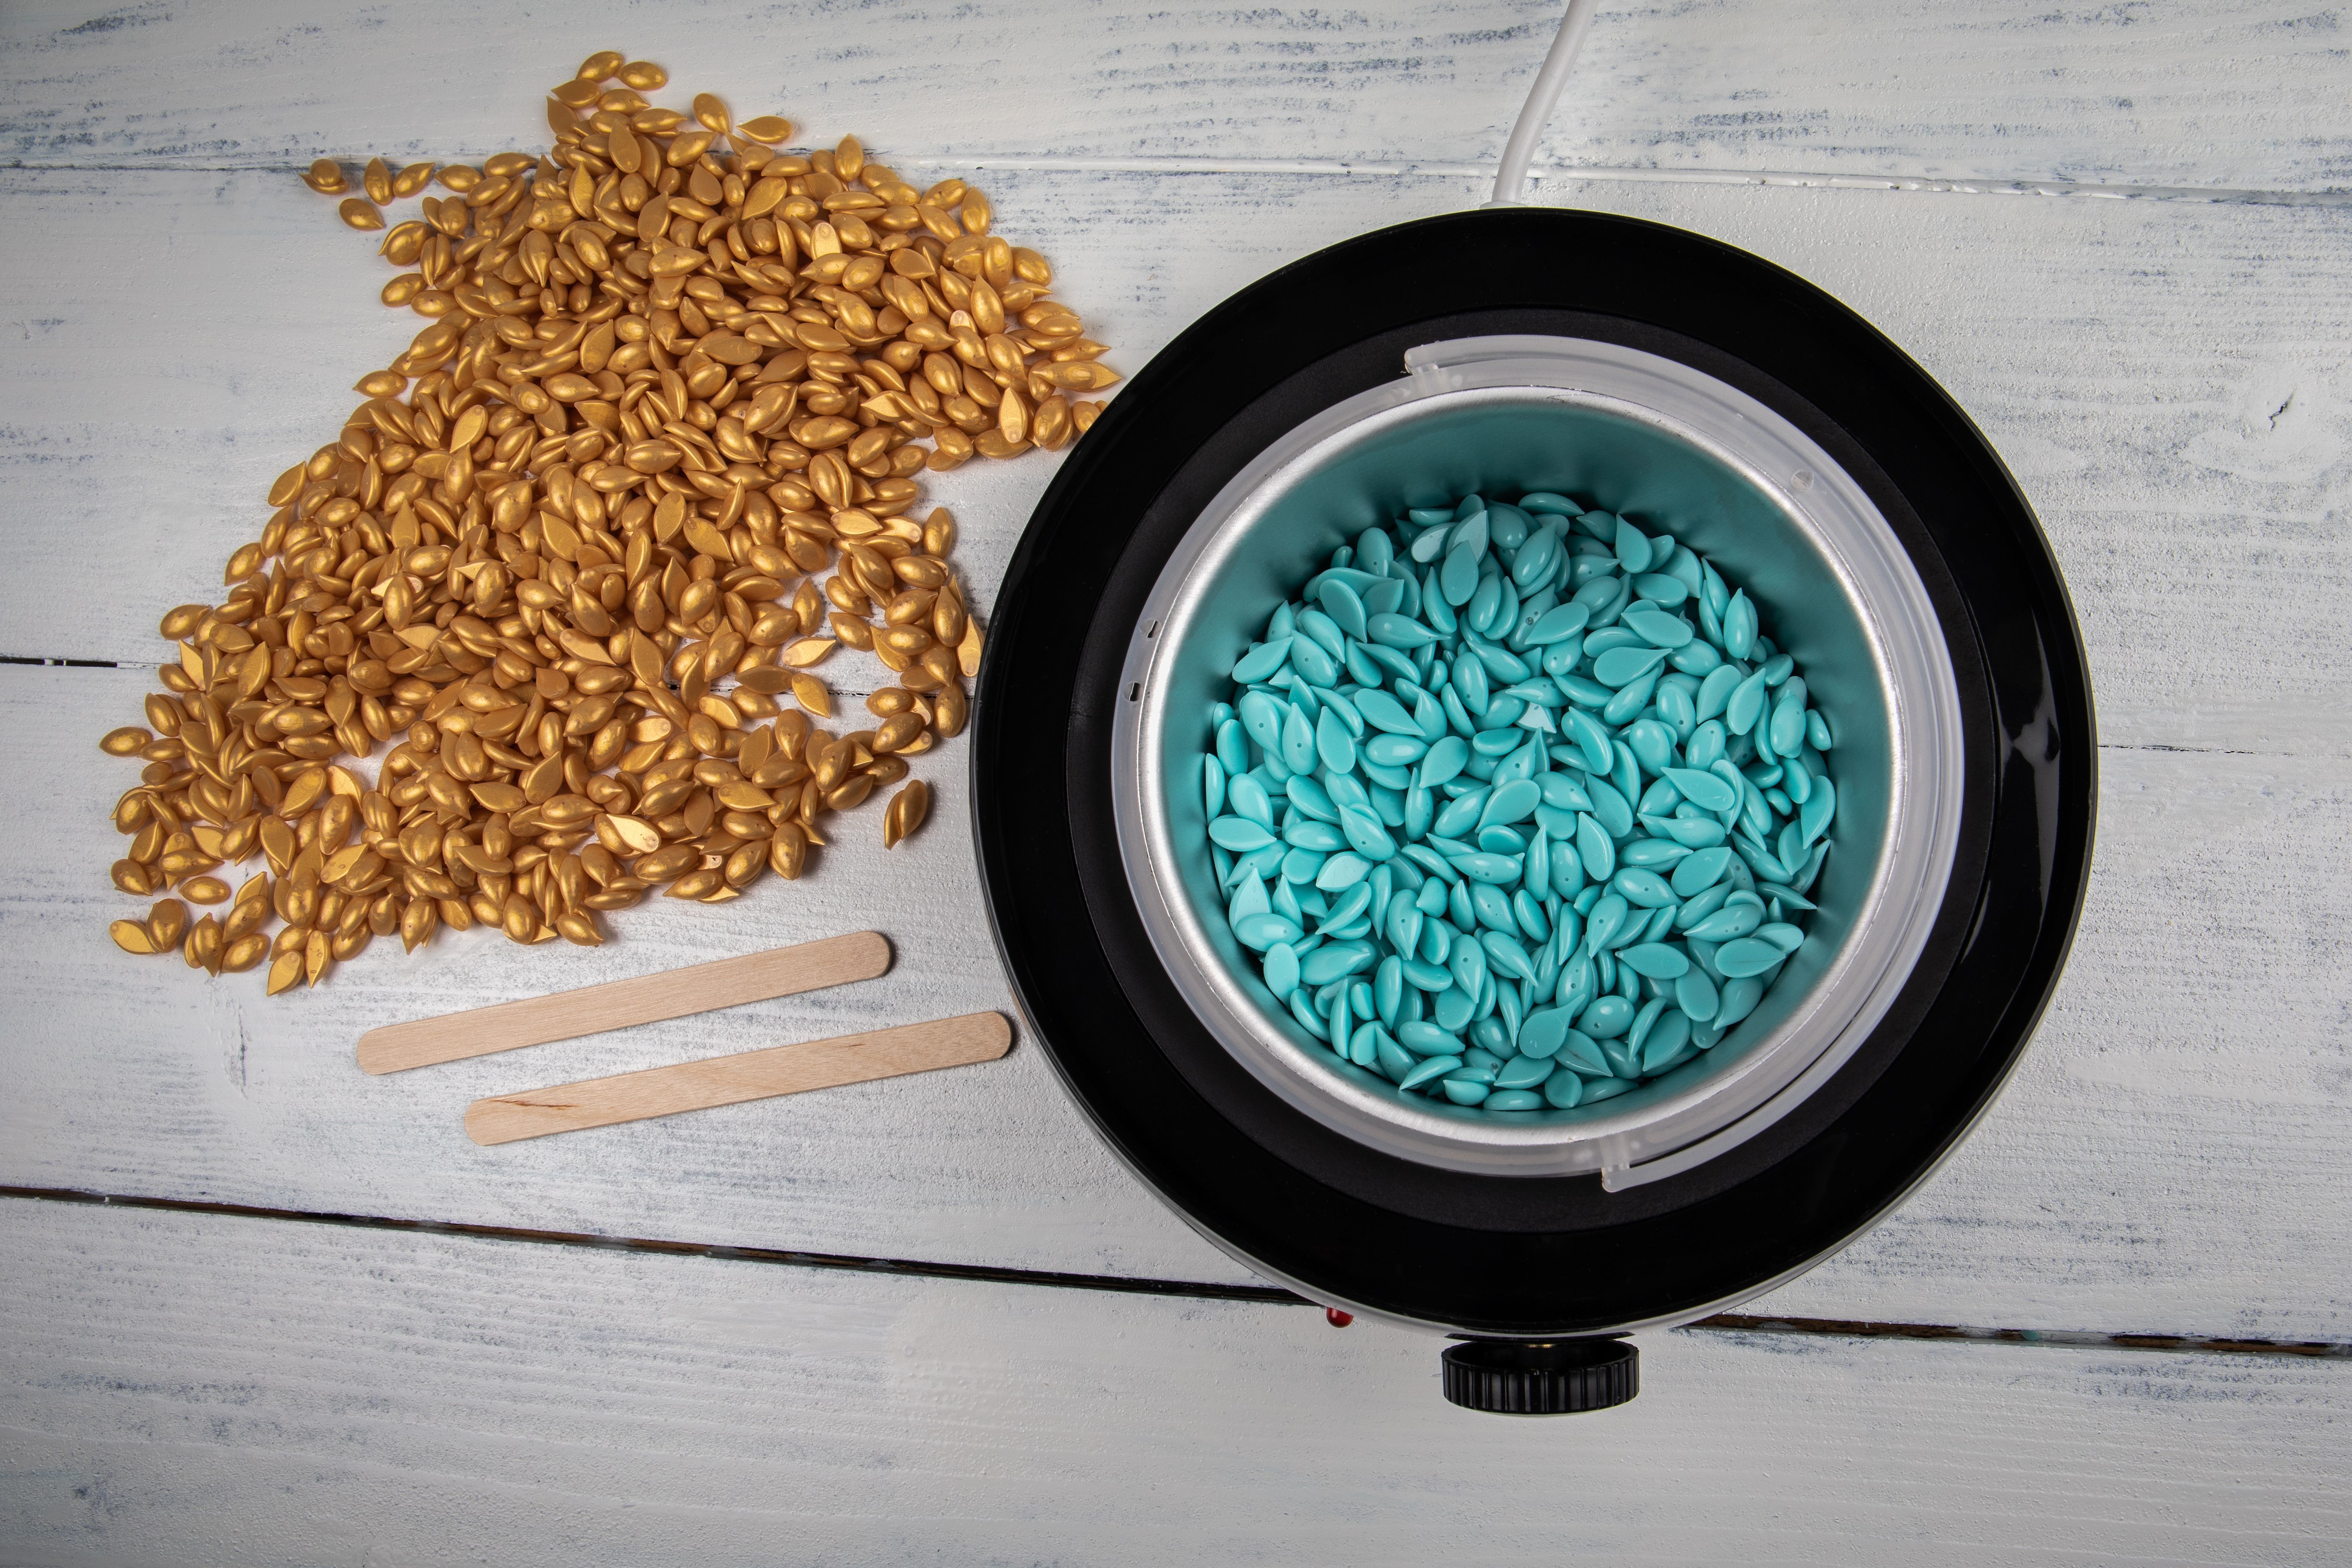
The first step in using wax melts effectively is choosing the right ones for your needs. Consider the scent notes that appeal to you, such as floral, fruity, or earthy tones. Additionally, check if the wax melts are made from natural ingredients like soy or beeswax for a cleaner burn.
Tip: Opt for wax melts from reputable brands that ensure high-quality fragrances and eco-friendly ingredients.
Setting Up Your Wax Warmer
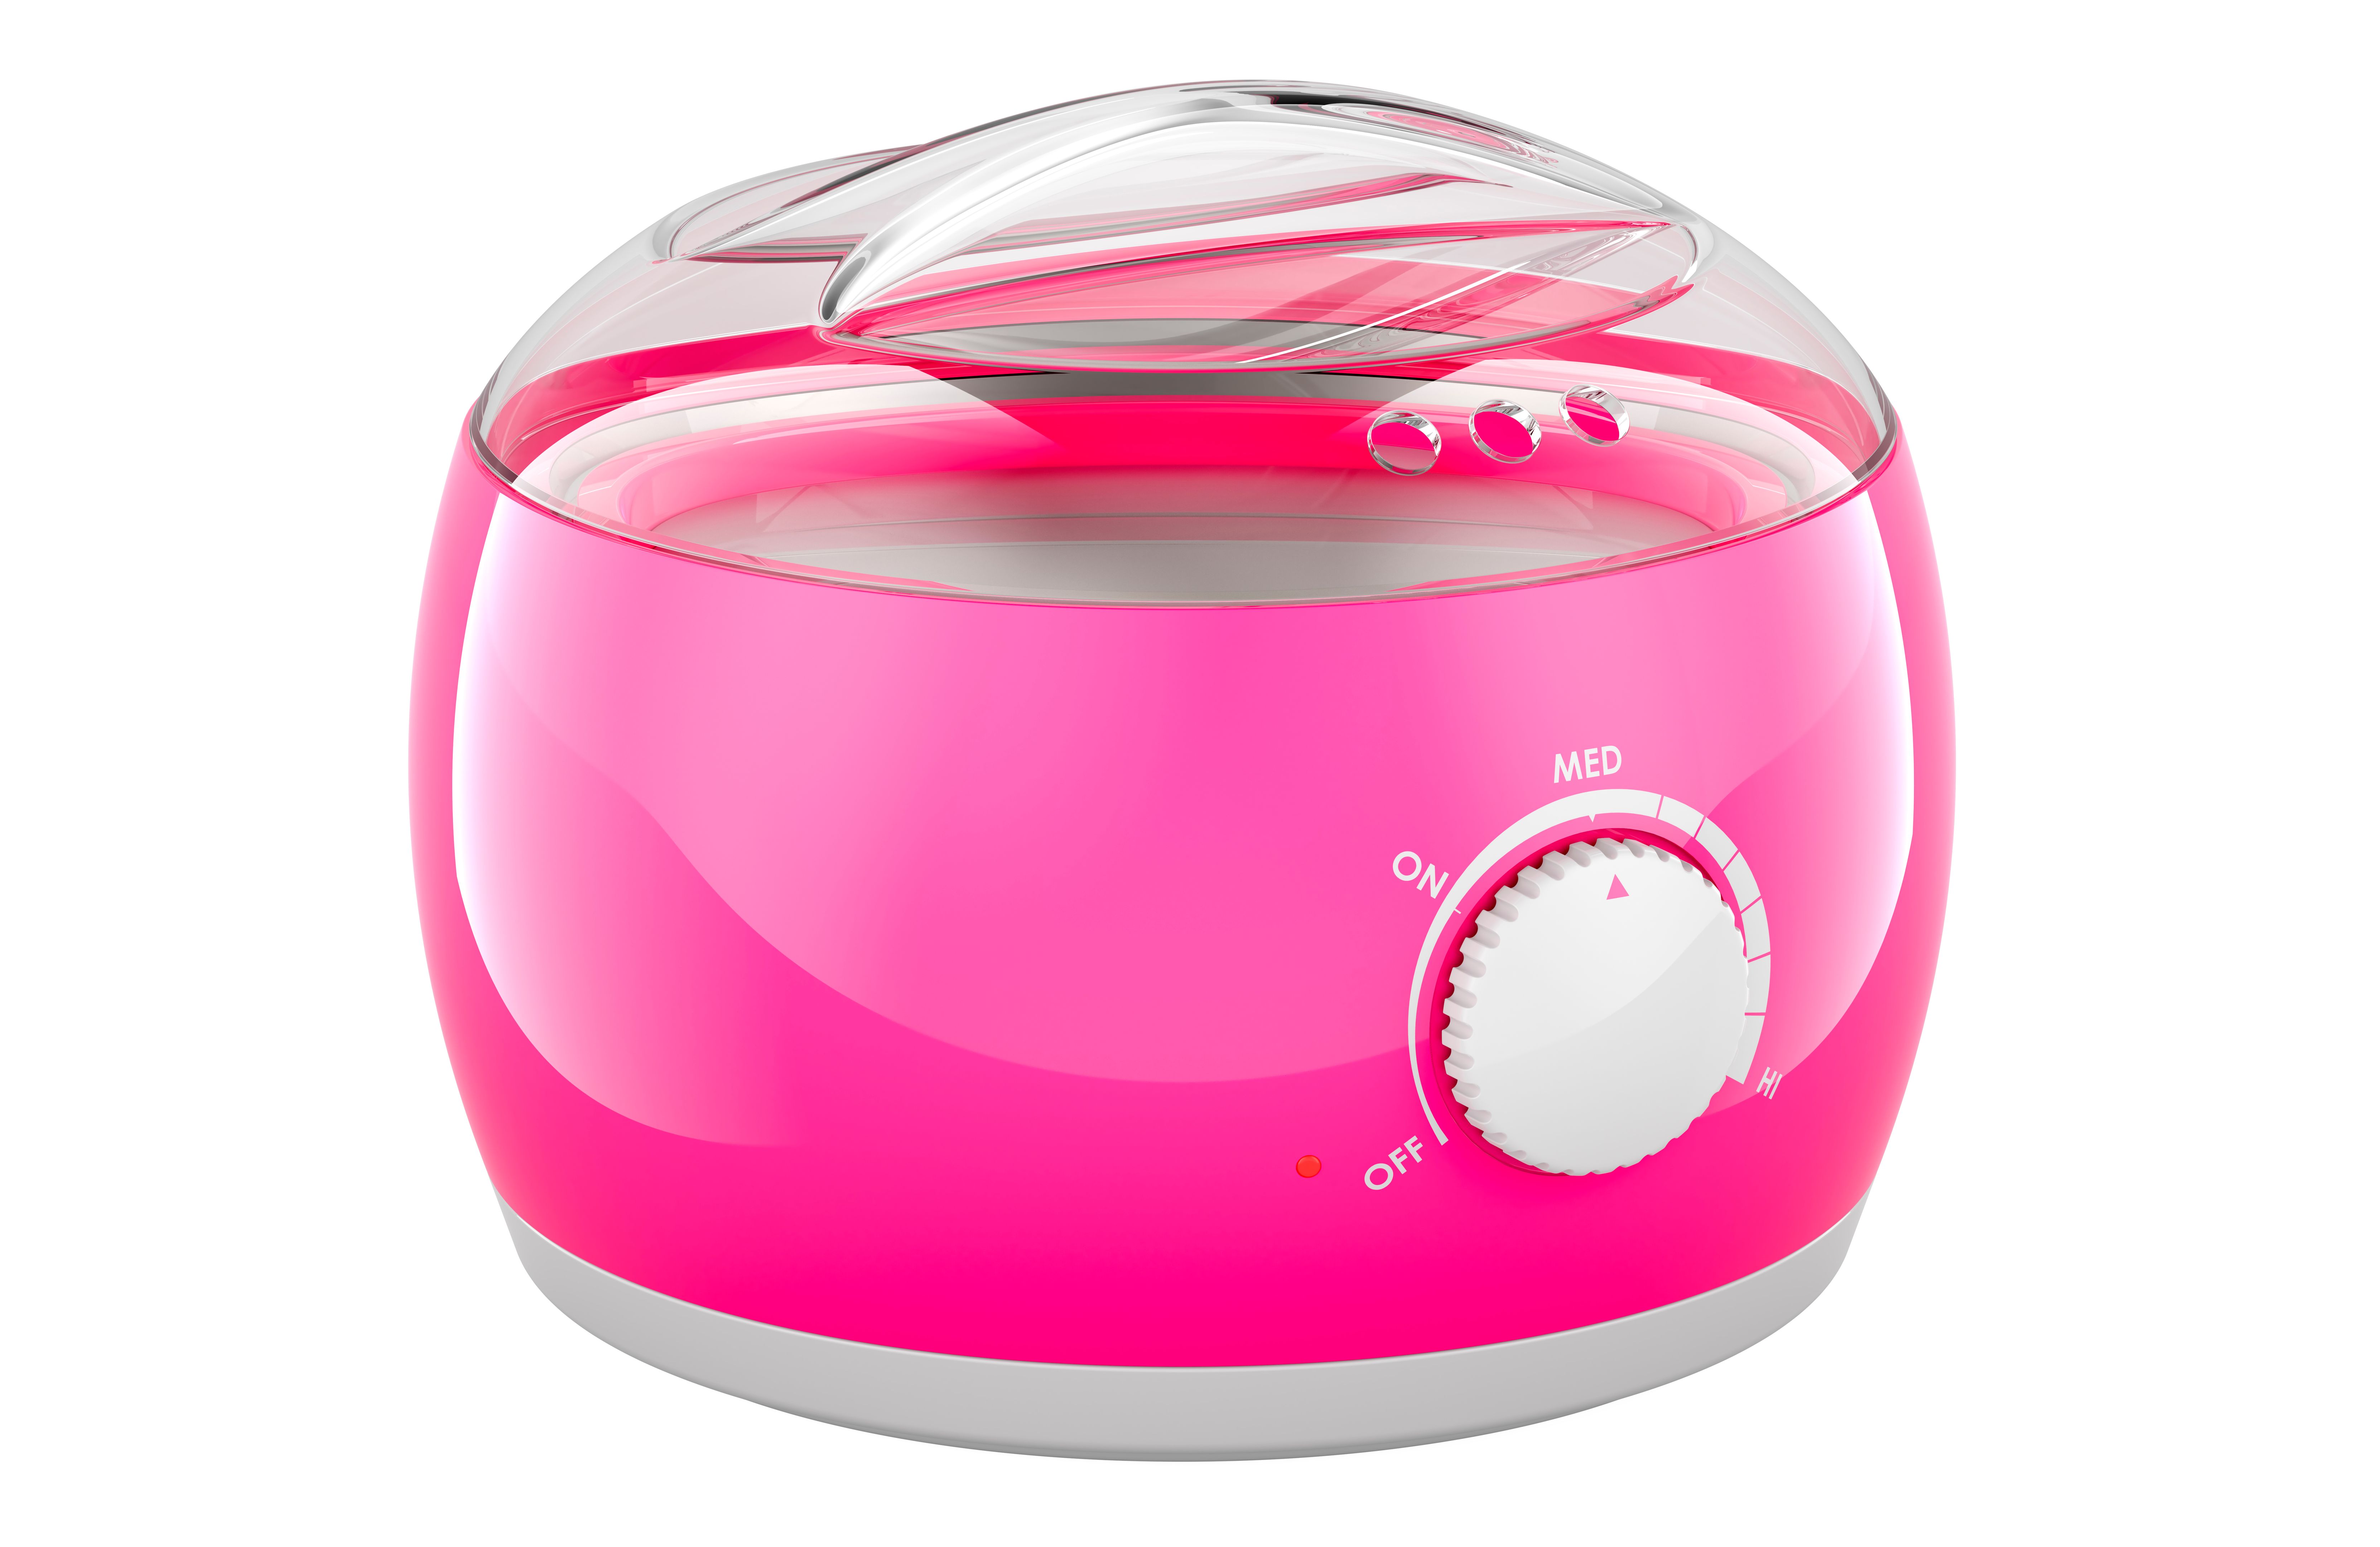
Before you begin, you’ll need a wax warmer. These devices come in various styles, including electric and tea light warmers. Choose a warmer that fits your décor and is suitable for the space you’re scenting.
Steps to Set Up:
- Place the warmer on a stable, heat-resistant surface away from flammable items.
- If using an electric warmer, ensure it’s plugged into a safe outlet.
- If using a tea light warmer, insert an unscented tea light underneath.
Using Your Wax Melts
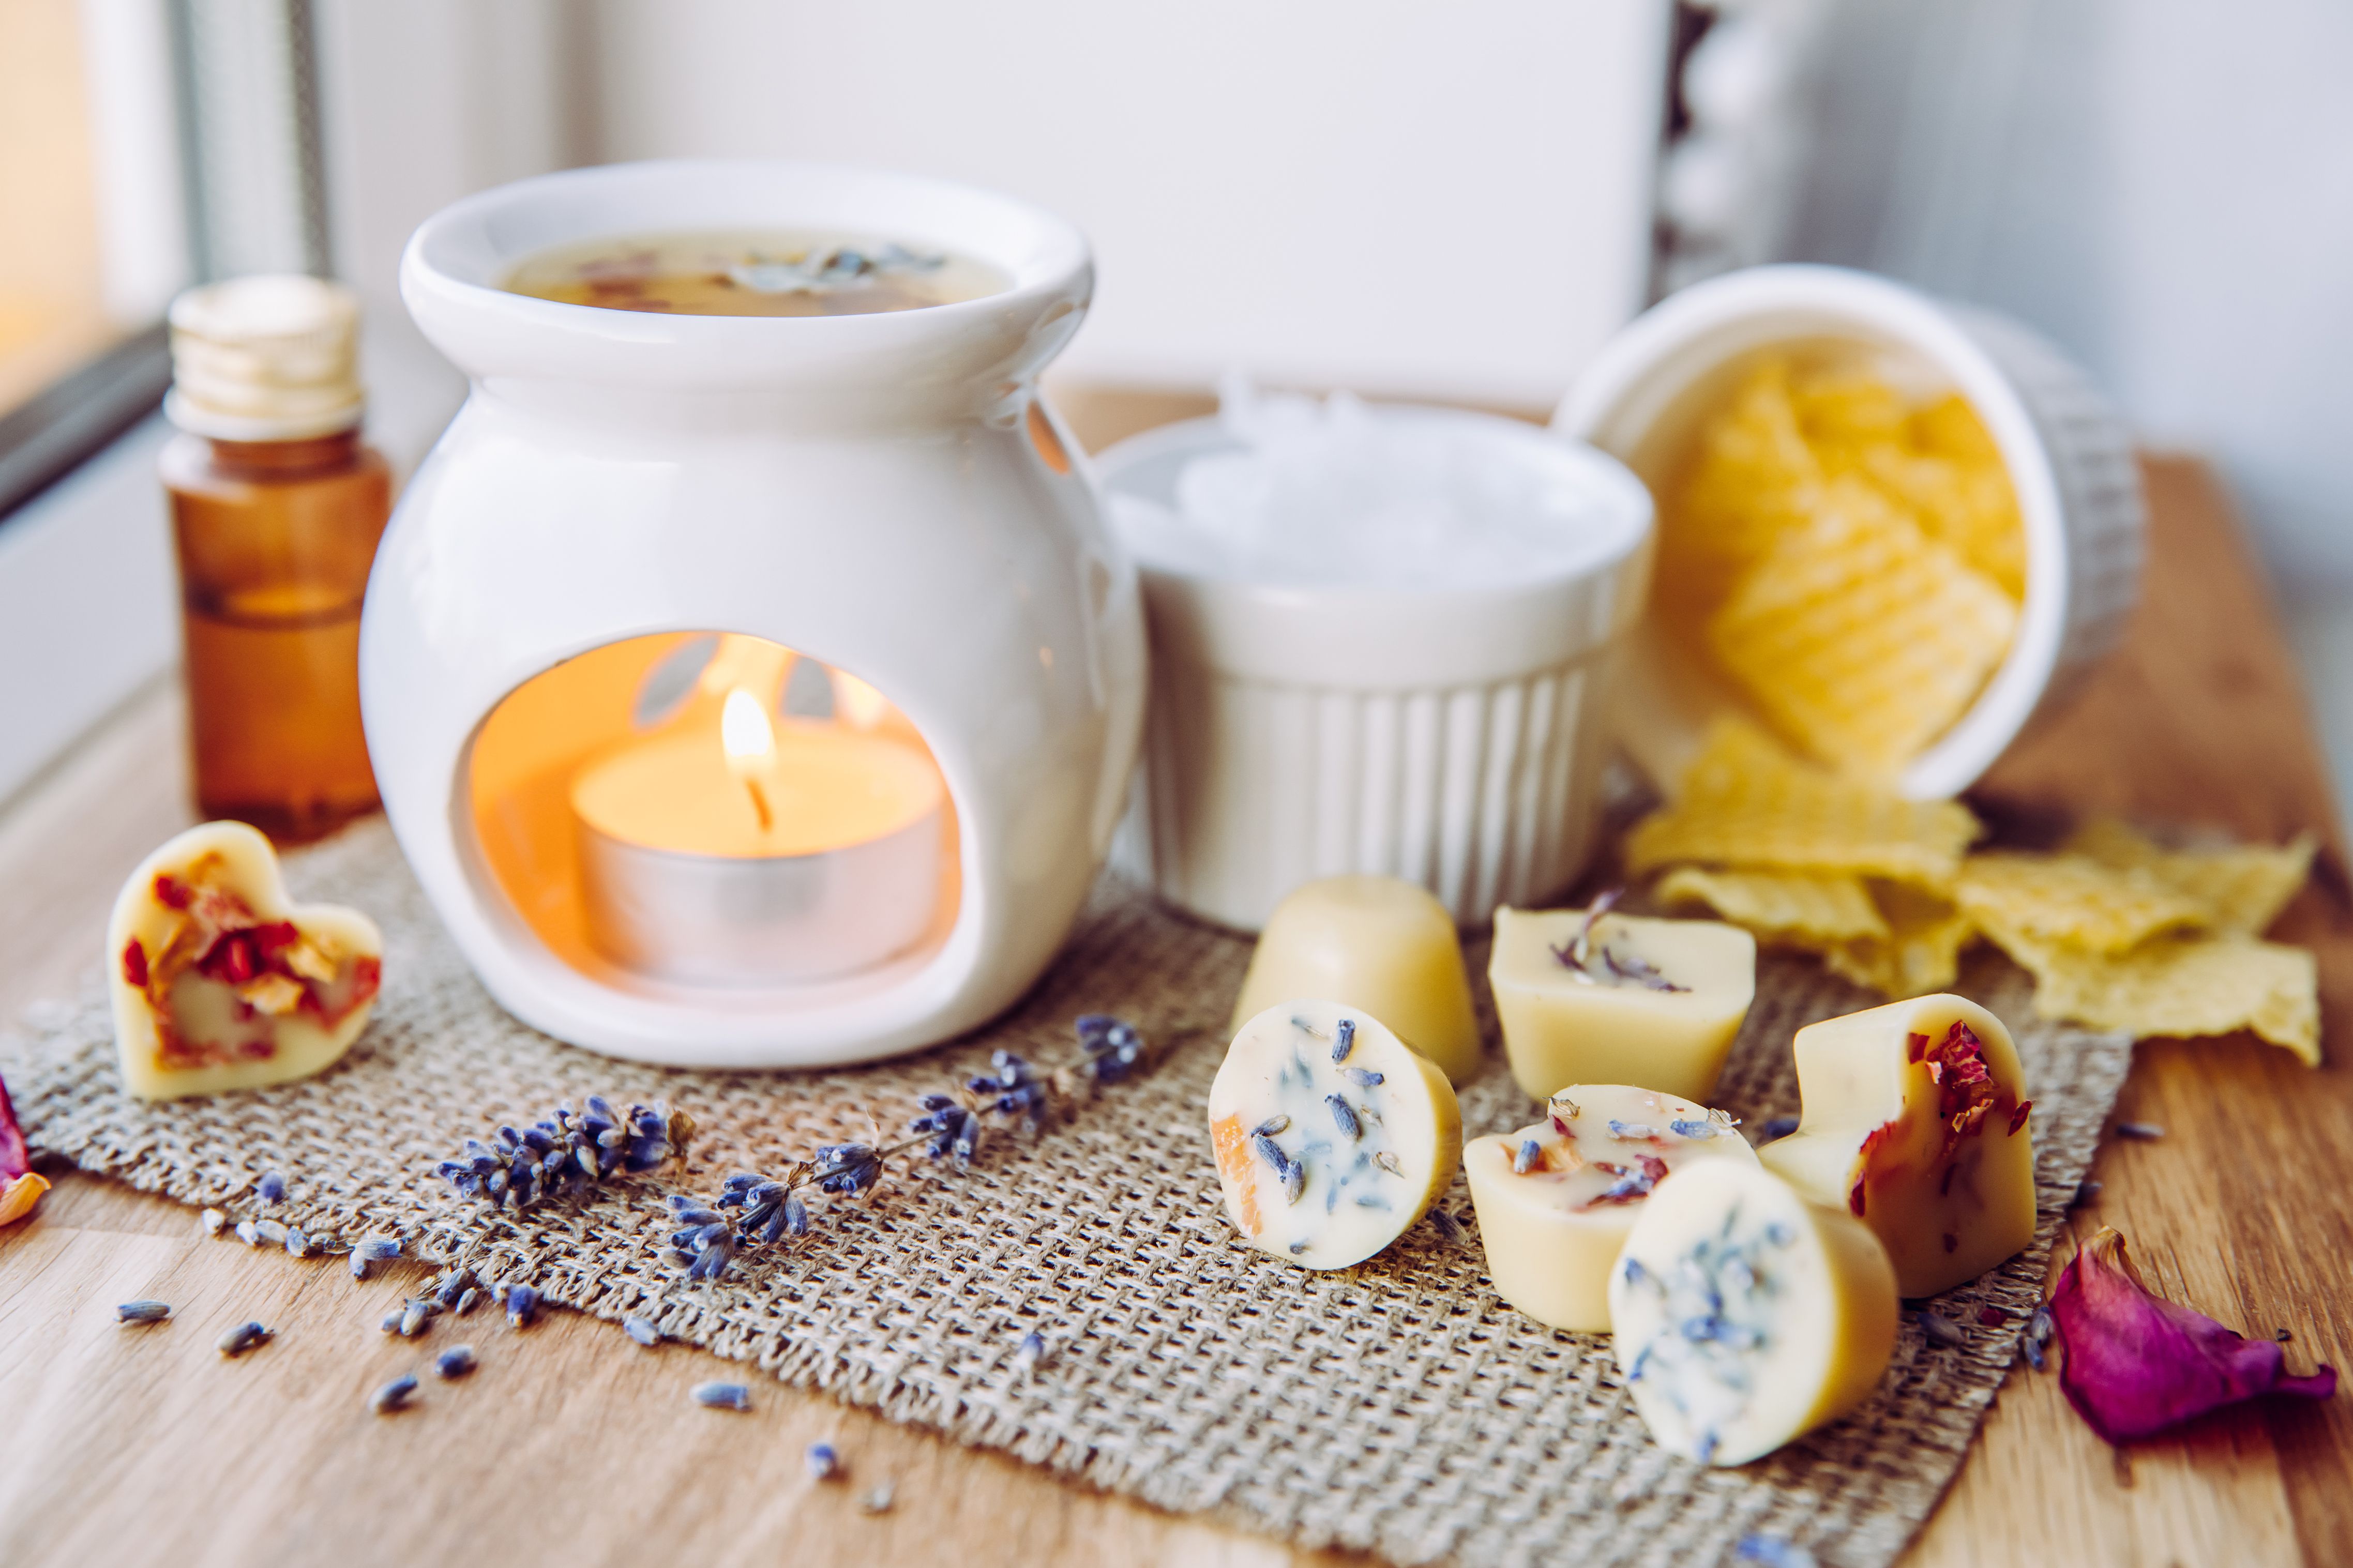
Once your warmer is set up, it’s time to add the wax melts. Gently break off a piece of the wax melt and place it in the top dish of the warmer.
Important: Do not overfill the dish; follow the manufacturer's recommendations for the amount of wax to use.
Maximizing Scent Throw
To get the most out of your wax melts, allow them to melt completely. This ensures that the fragrance is dispersed evenly throughout your space. Keep in mind that larger rooms may require more than one piece of wax melt to achieve the desired scent intensity.
Pro Tip: Rotate scents regularly to maintain a fresh environment and prevent olfactory fatigue.
Cleaning and Maintenance
Once the fragrance has dissipated, it's time to clean your wax warmer. Turn off and unplug the warmer, allowing the leftover wax to cool and harden. You can then gently remove it with a soft cloth or paper towel.
Maintenance Tips:
- Avoid using sharp objects to remove wax, as they can damage the warmer.
- Regularly check your warmer for any residue build-up and clean it thoroughly.
Conclusion
Using hand poured wax melts is an enjoyable way to infuse your home with delightful aromas. By selecting high-quality wax melts, setting up your warmer correctly, and following these simple steps, you can create a welcoming and fragrant environment in any room. Experiment with different scents and enjoy the cozy atmosphere they create.