DIY Tips: Making Your Own Scented Wax Melts at Home
Introduction to Scented Wax Melts
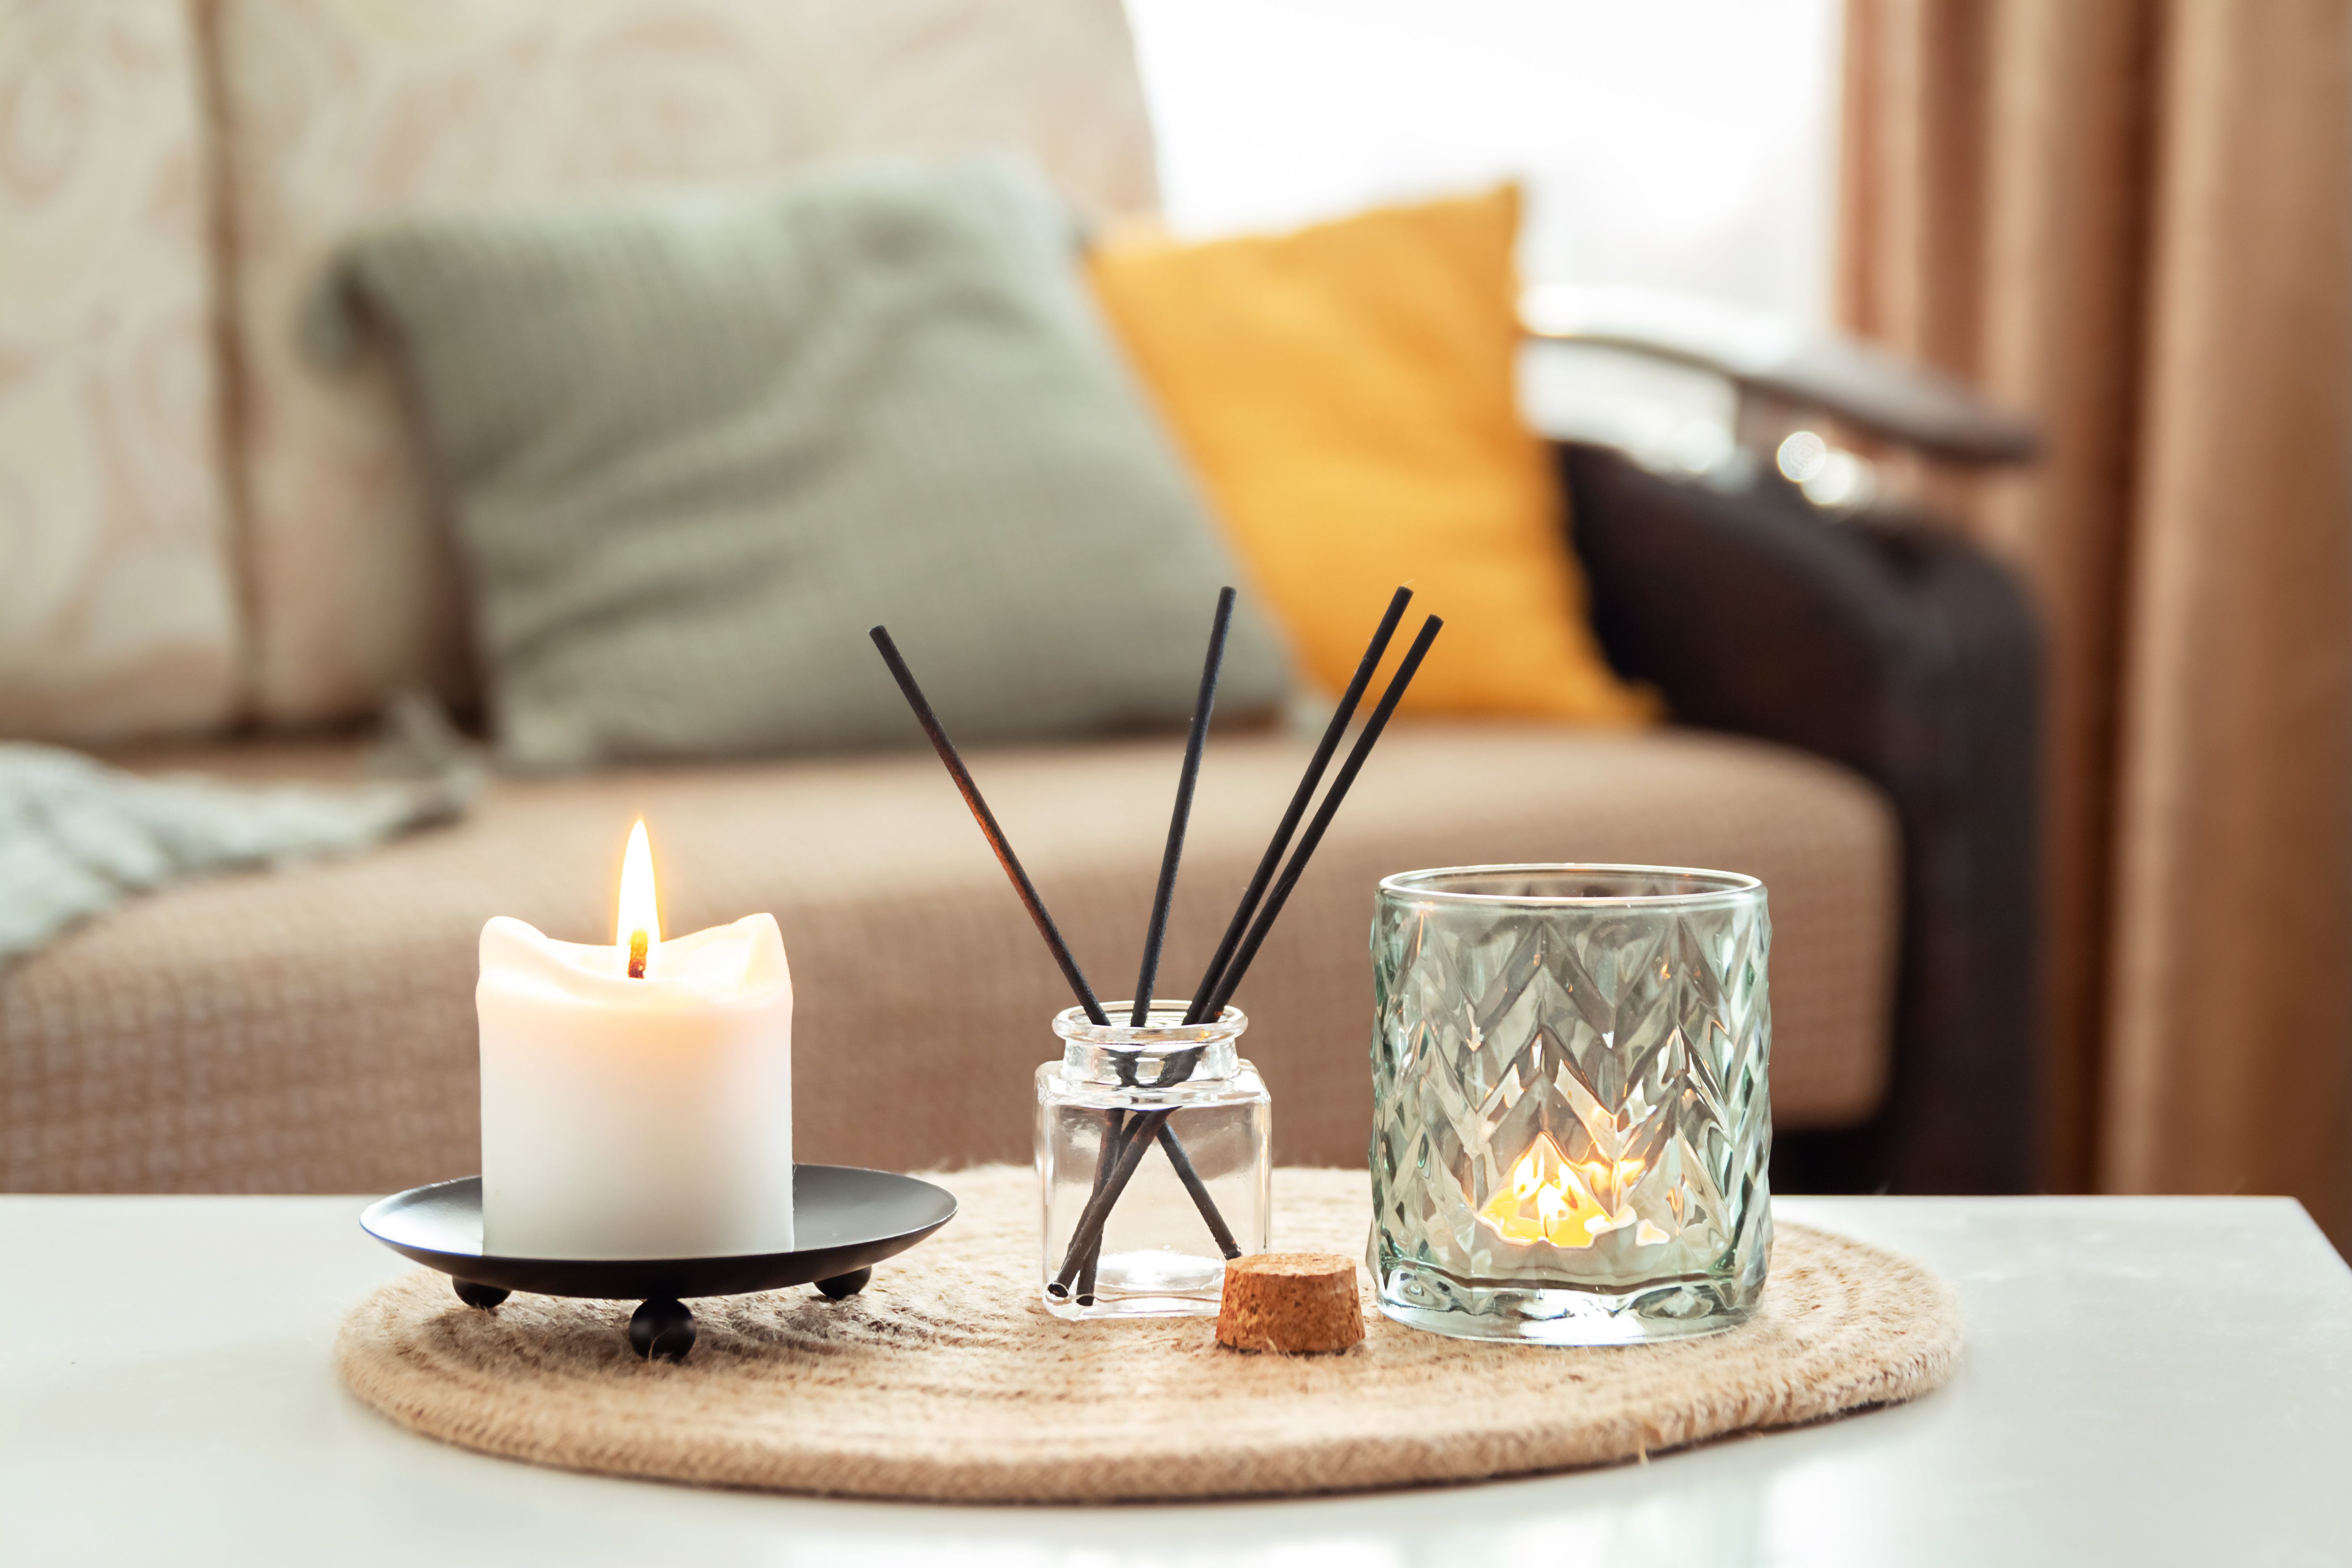
There's something incredibly comforting about a home filled with delightful aromas. While candles are a popular choice, scented wax melts provide a safer and more versatile alternative. In this DIY guide, we'll walk you through the steps of making your own scented wax melts at home, helping you create a personalized aroma experience.

Benefits of Scented Wax Melts
Scented wax melts are not only safer than traditional candles, as they don't require an open flame, but they're also easy to customize. You can choose your favorite scents and even blend them to create unique combinations. Additionally, wax melts last longer and distribute fragrance evenly throughout your space.
Eco-Friendly and Cost-Effective
Another advantage of making your own wax melts is the ability to choose eco-friendly ingredients. By selecting natural waxes and essential oils, you can reduce your environmental impact. Plus, DIY wax melts are more cost-effective than store-bought options, saving you money in the long run.
Materials Needed
To get started with your DIY wax melts, you'll need a few basic materials:
- Wax (soy, beeswax, or paraffin)
- Essential oils or fragrance oils
- Silicone molds or ice cube trays
- A double boiler or microwave-safe container
- An old spoon or stirring stick

Choosing the Right Wax
The type of wax you choose will affect the texture and scent throw of your melts. Soy wax is a popular choice for its clean burn and strong scent retention. Beeswax offers a natural option with a subtle honey aroma. For a more traditional choice, paraffin wax provides excellent fragrance release.
Steps to Make Wax Melts
Now that you have your materials ready, follow these simple steps:
- Melt the Wax: Use a double boiler or microwave to melt your chosen wax. If using a microwave, heat in short bursts to prevent overheating.
- Add Fragrance: Once melted, add your essential or fragrance oils. Stir well to ensure the scent is evenly distributed.
- Pour into Molds: Carefully pour the scented wax into your silicone molds or ice cube trays. Allow them to cool and harden completely.
- Remove and Store: Once solidified, gently pop the wax melts out of the molds. Store them in an airtight container until ready to use.
Troubleshooting Common Issues
If you're experiencing issues like poor scent throw or crumbling wax melts, consider adjusting the ratio of fragrance oil to wax or experimenting with different types of wax. Remember that practice makes perfect, and experimenting with various blends can lead to delightful discoveries.
Conclusion
Creating your own scented wax melts is a rewarding and enjoyable DIY project that allows you to tailor your home fragrance to your personal preferences. With a little practice and creativity, you'll be crafting custom scents that fill your home with warmth and comfort.
So why not gather your materials and start experimenting with different scents today? Your perfect aroma combination is just a few steps away!